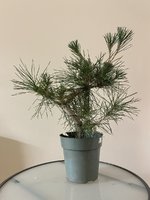
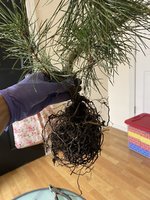
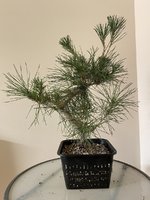
MSU JBoots
Shohin
Knee deep in repotting I finally managed to get my trees out of winter storage and back on the benches. Thus far outside of the bare root of the maple I’ve repotted 2 junipers utilizing a half bare root method. Tonight I called an audible and went with the top half bare root method I learned from a podcast. The post of mine that got dug up a couple weeks back reminded me of the technique.
I hadn’t planning on utilizing it but the hinoki was horribly root bound with circling roots. Here it was before I put it back in the nursery pot.
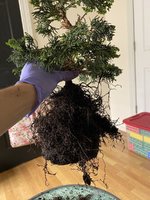
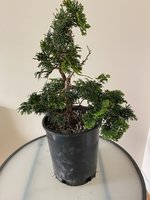
I put it back in the nursery can then filled the top with bonsai jack soil and chopsticked it to fill in voids. I likely botched the technique and I’m not sure putting it back in its original nursery can with such a tall water column was wise but it’s likely too late now. Fingers crossed this one survives my ham handed approach this evening. Here’s the final product although it doesn’t show much.
I hadn’t planning on utilizing it but the hinoki was horribly root bound with circling roots. Here it was before I put it back in the nursery pot.

I put it back in the nursery can then filled the top with bonsai jack soil and chopsticked it to fill in voids. I likely botched the technique and I’m not sure putting it back in its original nursery can with such a tall water column was wise but it’s likely too late now. Fingers crossed this one survives my ham handed approach this evening. Here’s the final product although it doesn’t show much.


