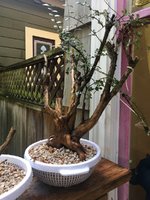
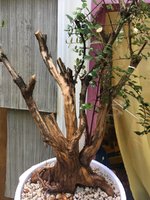
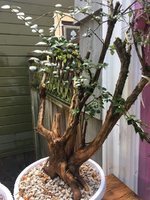
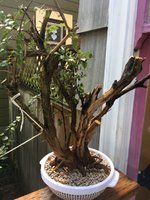
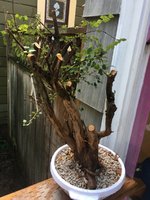
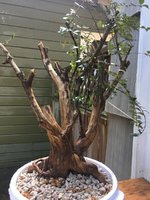
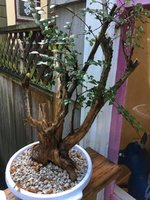
Lonicera Nitida, trunk chop, root prune, collandered; will she survive?

Messages
312
Reaction score
523
Location
Portland, Oregon, United States of America
USDA Zone
9b
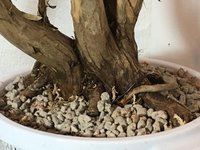
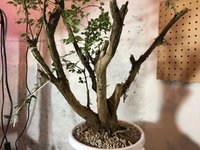
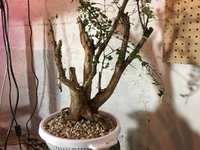
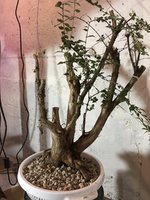
In case this tree lives, I want a thread to exist to keep track of the process and photos of the progression. I welcome any suggestions or observations of all the things I'm doing wrong.
From what little research I was able to do on this critter prior to collection, it has been suggested that they are hard to kill and can be worked on in late Autumn. I found the tree under the free section of my local online classifieds. Free tree 5 minutes away from my house seemed worth the risk.
I got to experience digging up a tree after watching a couple youtube videos. Seemed to go really well. I would prefer to take a different shovel next time, one of the slender, straight-ish variety.
Also, while there the homeowner stated they would keep my number if they decide to get rid of another of the same species that had an even fatter single trunk!
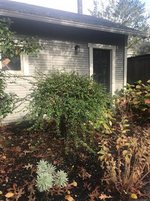
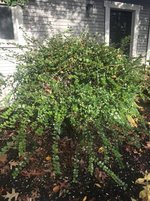
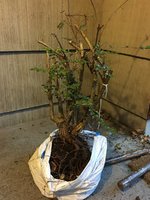
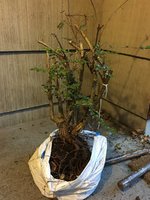
Unfortunately these two photos from the ad are the only in existence of the 'before', unmolested plant. I will be sure to not screw that up next time. I have failed to take 'before' pics on a few plants already.
 

Attachments

  • IMG_2482.JPG
    IMG_2482.JPG
    52.7 KB · Views: 82
  • IMG_2483.JPG
    IMG_2483.JPG
    58.9 KB · Views: 84
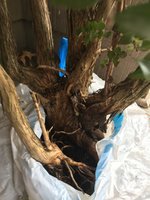
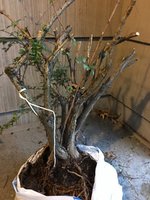
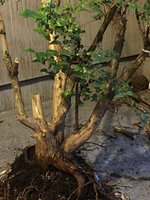
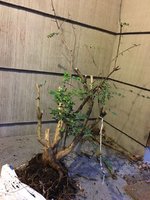
These were taken after I chopped the canopy. The first pic shows a little offshoot that looks like it rooted and grew quite a bit. I separated him from the mother. I want to develop this tree for shohin size so plan to chop back farther, but I figured I should leave some foliage on it for now. Next time I do this I would prefer to own some bonsai tools. I'm thinking a root pruner, root shears, spherical concave cutter, and folding saw would've been nice.
 

Attachments

  • IMG_2452.JPG
    IMG_2452.JPG
    170 KB · Views: 79
  • IMG_2463.JPG
    IMG_2463.JPG
    195.6 KB · Views: 65
  • 62692018675__BA73EEB7-3F14-4BF3-96D6-9E5773BFFBDB 2.JPG
    62692018675__BA73EEB7-3F14-4BF3-96D6-9E5773BFFBDB 2.JPG
    228.4 KB · Views: 59
  • 62692018675__BA73EEB7-3F14-4BF3-96D6-9E5773BFFBDB 2.JPG
    62692018675__BA73EEB7-3F14-4BF3-96D6-9E5773BFFBDB 2.JPG
    228.4 KB · Views: 59
  • IMG_2466.JPG
    IMG_2466.JPG
    223 KB · Views: 57
  • IMG_2467.JPG
    IMG_2467.JPG
    231.9 KB · Views: 60
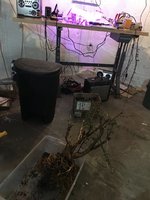
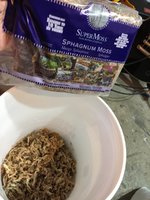
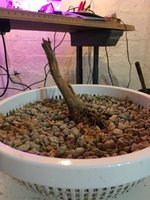
Then off to the dungeon. Chop-sticked the clay soil out of there then hacked away at the large outer roots and pruned everything back until it would fit in my dollar store colander. For potting medium I got this bag of sphagnum based off recommendation from Peter Chen's youtube channel. He claims it's his secret for developing roots. I mixed it with 1/4"-3/8" size pumice. It did not blend well. I had a hard time keeping the moss in the pot when filling so topped with additional pumice at the end to keep the moss from blowing away in the wind. Maybe I needed to dampen the moss before mixing? I also failed to put some tubing over the root where the anchor wire makes contact.
 

Attachments

  • fullsizeoutput_178e.jpeg
    fullsizeoutput_178e.jpeg
    167.2 KB · Views: 52
  • IMG_2471.JPG
    IMG_2471.JPG
    163.8 KB · Views: 51
  • IMG_2472.JPG
    IMG_2472.JPG
    159.7 KB · Views: 49
  • IMG_2473.JPG
    IMG_2473.JPG
    226.2 KB · Views: 47
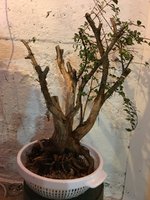
Some photos taken in daylight in it's natural habitat. Got quite a bit of rain last night, discovered some flooding in the basement possibly entered through a window. I peeled a bit of the flaky bark last night. I read you can do that with these, there were areas where it didn't flake off easily. I'll have to do further research to determine the best method for clean-up/removal. I guess we should know something in about 4-6 weeks.
 

Attachments

  • IMG_2485.JPG
    IMG_2485.JPG
    233.1 KB · Views: 40
  • IMG_2486.JPG
    IMG_2486.JPG
    257.8 KB · Views: 36
  • IMG_2487.JPG
    IMG_2487.JPG
    225.3 KB · Views: 29
  • IMG_2488.JPG
    IMG_2488.JPG
    219.4 KB · Views: 29
  • IMG_2489.JPG
    IMG_2489.JPG
    219 KB · Views: 33
  • IMG_2490.JPG
    IMG_2490.JPG
    221.4 KB · Views: 34
  • IMG_2493.JPG
    IMG_2493.JPG
    245.9 KB · Views: 62
Nice day toaday, sunny, 50*f. I took the kids out to play in the yard while I did some work on my junipers.
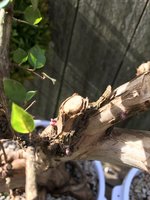
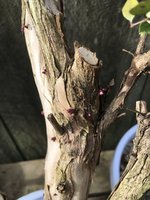
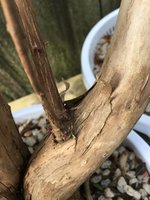
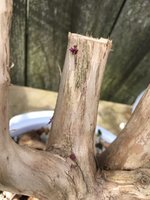
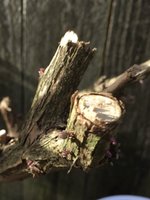
I discovered little purple buds all along the trunks! It appears as though most of the buds formed near the cuts.
I’m wishing I would’ve cut it back harder. I think I’ll chop it back a little in the spring and I want to layer part of the big middle trunk.
I’m pretty excited to watch this one grow this year.
 

Attachments

  • CE49E853-EE50-495D-AA32-E3422C073B1F.jpeg
    CE49E853-EE50-495D-AA32-E3422C073B1F.jpeg
    146.8 KB · Views: 21
  • DAC28C9F-8A17-48C4-9094-E864E6272E82.jpeg
    DAC28C9F-8A17-48C4-9094-E864E6272E82.jpeg
    210.4 KB · Views: 21
  • E8B9A31F-EF41-46E1-B1E7-E81E48CF1AA5.jpeg
    E8B9A31F-EF41-46E1-B1E7-E81E48CF1AA5.jpeg
    173.3 KB · Views: 18
  • 17B4B547-8B0A-4B81-919A-D3276D8B8C1B.jpeg
    17B4B547-8B0A-4B81-919A-D3276D8B8C1B.jpeg
    163.8 KB · Views: 16
  • 0B5CA0E9-AE84-4ECB-BCDE-3BC6D0B0DBB0.jpeg
    0B5CA0E9-AE84-4ECB-BCDE-3BC6D0B0DBB0.jpeg
    107.3 KB · Views: 40
I did the same thing around the same time of year. It still has healthy green leaves, but I'm not getting my hopes up that it will grow in the Spring yet. My spot for over wintering stays about 35-45, so it should be cool enough to keep the top dormant while warm enough that the roots can recover a bit.
 
Thanks for sharing, excited to see your progress with this one.
 
Back
Top Bottom