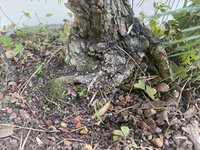
Thank you for your replies! I’ll try to post better pictures with a plain background behind the tree.
The only bonsai expert I know in my area has retired and although I’m willing to join local bonsai clubs, I can’t physically take the tree to the meetings (don’t have the strength to lift it).
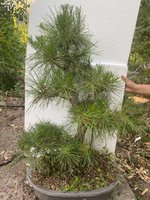
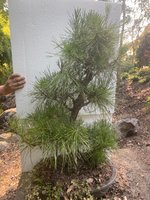
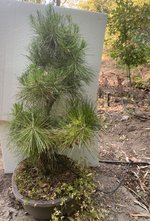
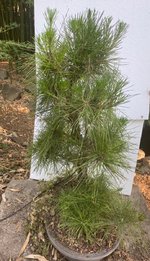
I’ve been educating myself on how to take care of bonsais (fertilizing, watering, maintenance pruning). I’m good at keeping plants alive and healthy but I have no idea what refining a bonsai means. Since you’re telling me that the trunk looks pretty thick and set, I’m assuming “styling” is not the proper term for this stage of bonsai development (?)
I did all the decandling a few weeks ago but to be bluntly honest I don’t know WHAT I’m doing or WHY I’m doing it. I simply followed this link
https://www.bonsaify.com/blogs/news-and-more/fall-cleanup-of-a-large-japanese-black-pine because I thought it would be cool if my tree looked like that too

Is there any material (books, courses, videos, tutorials) you can recommend for maintenance pruning and techniques of JBP or dual flush pine development?